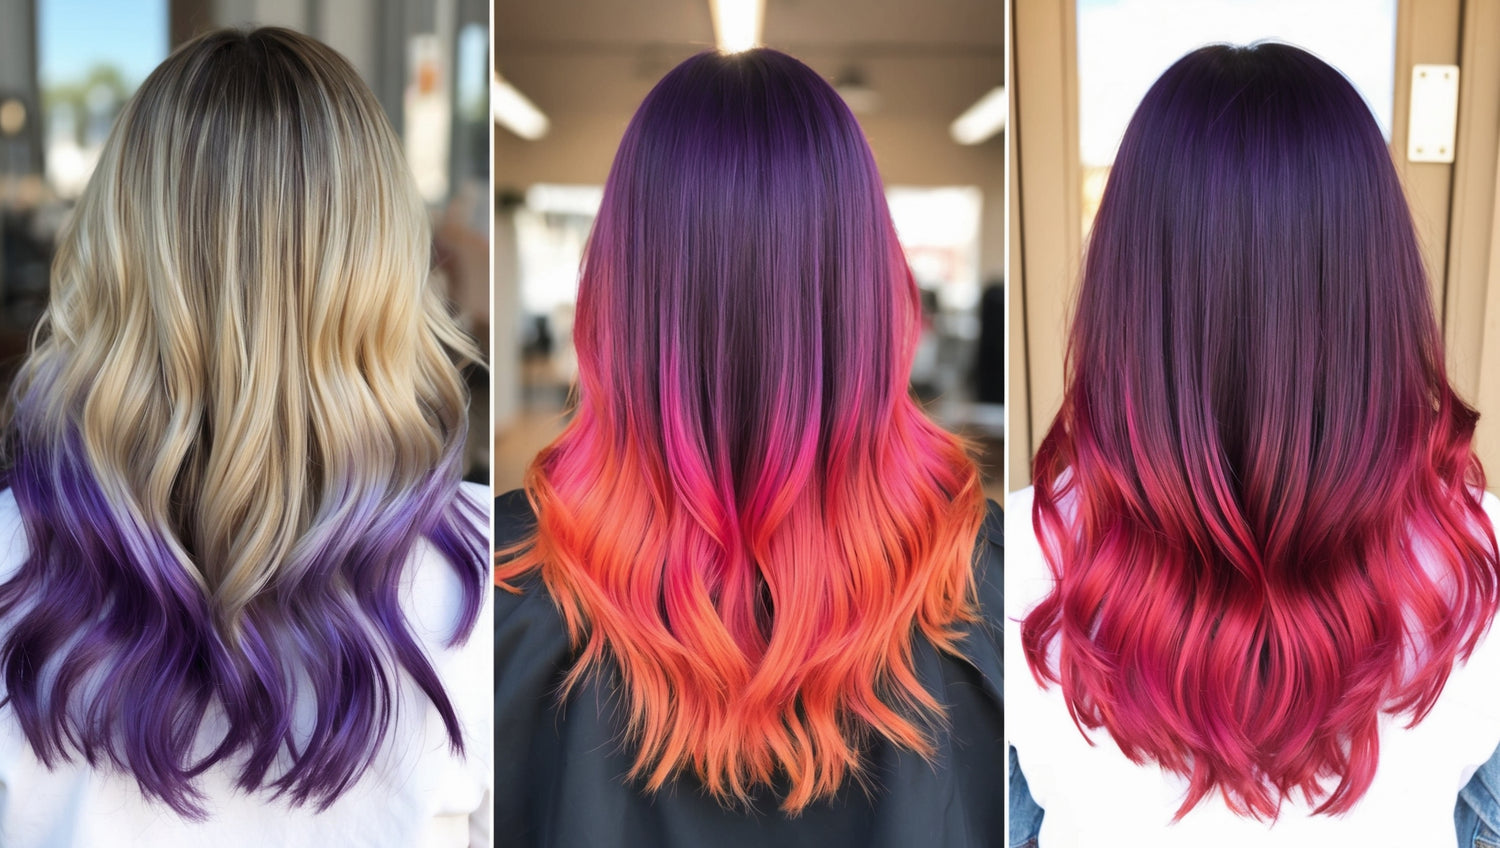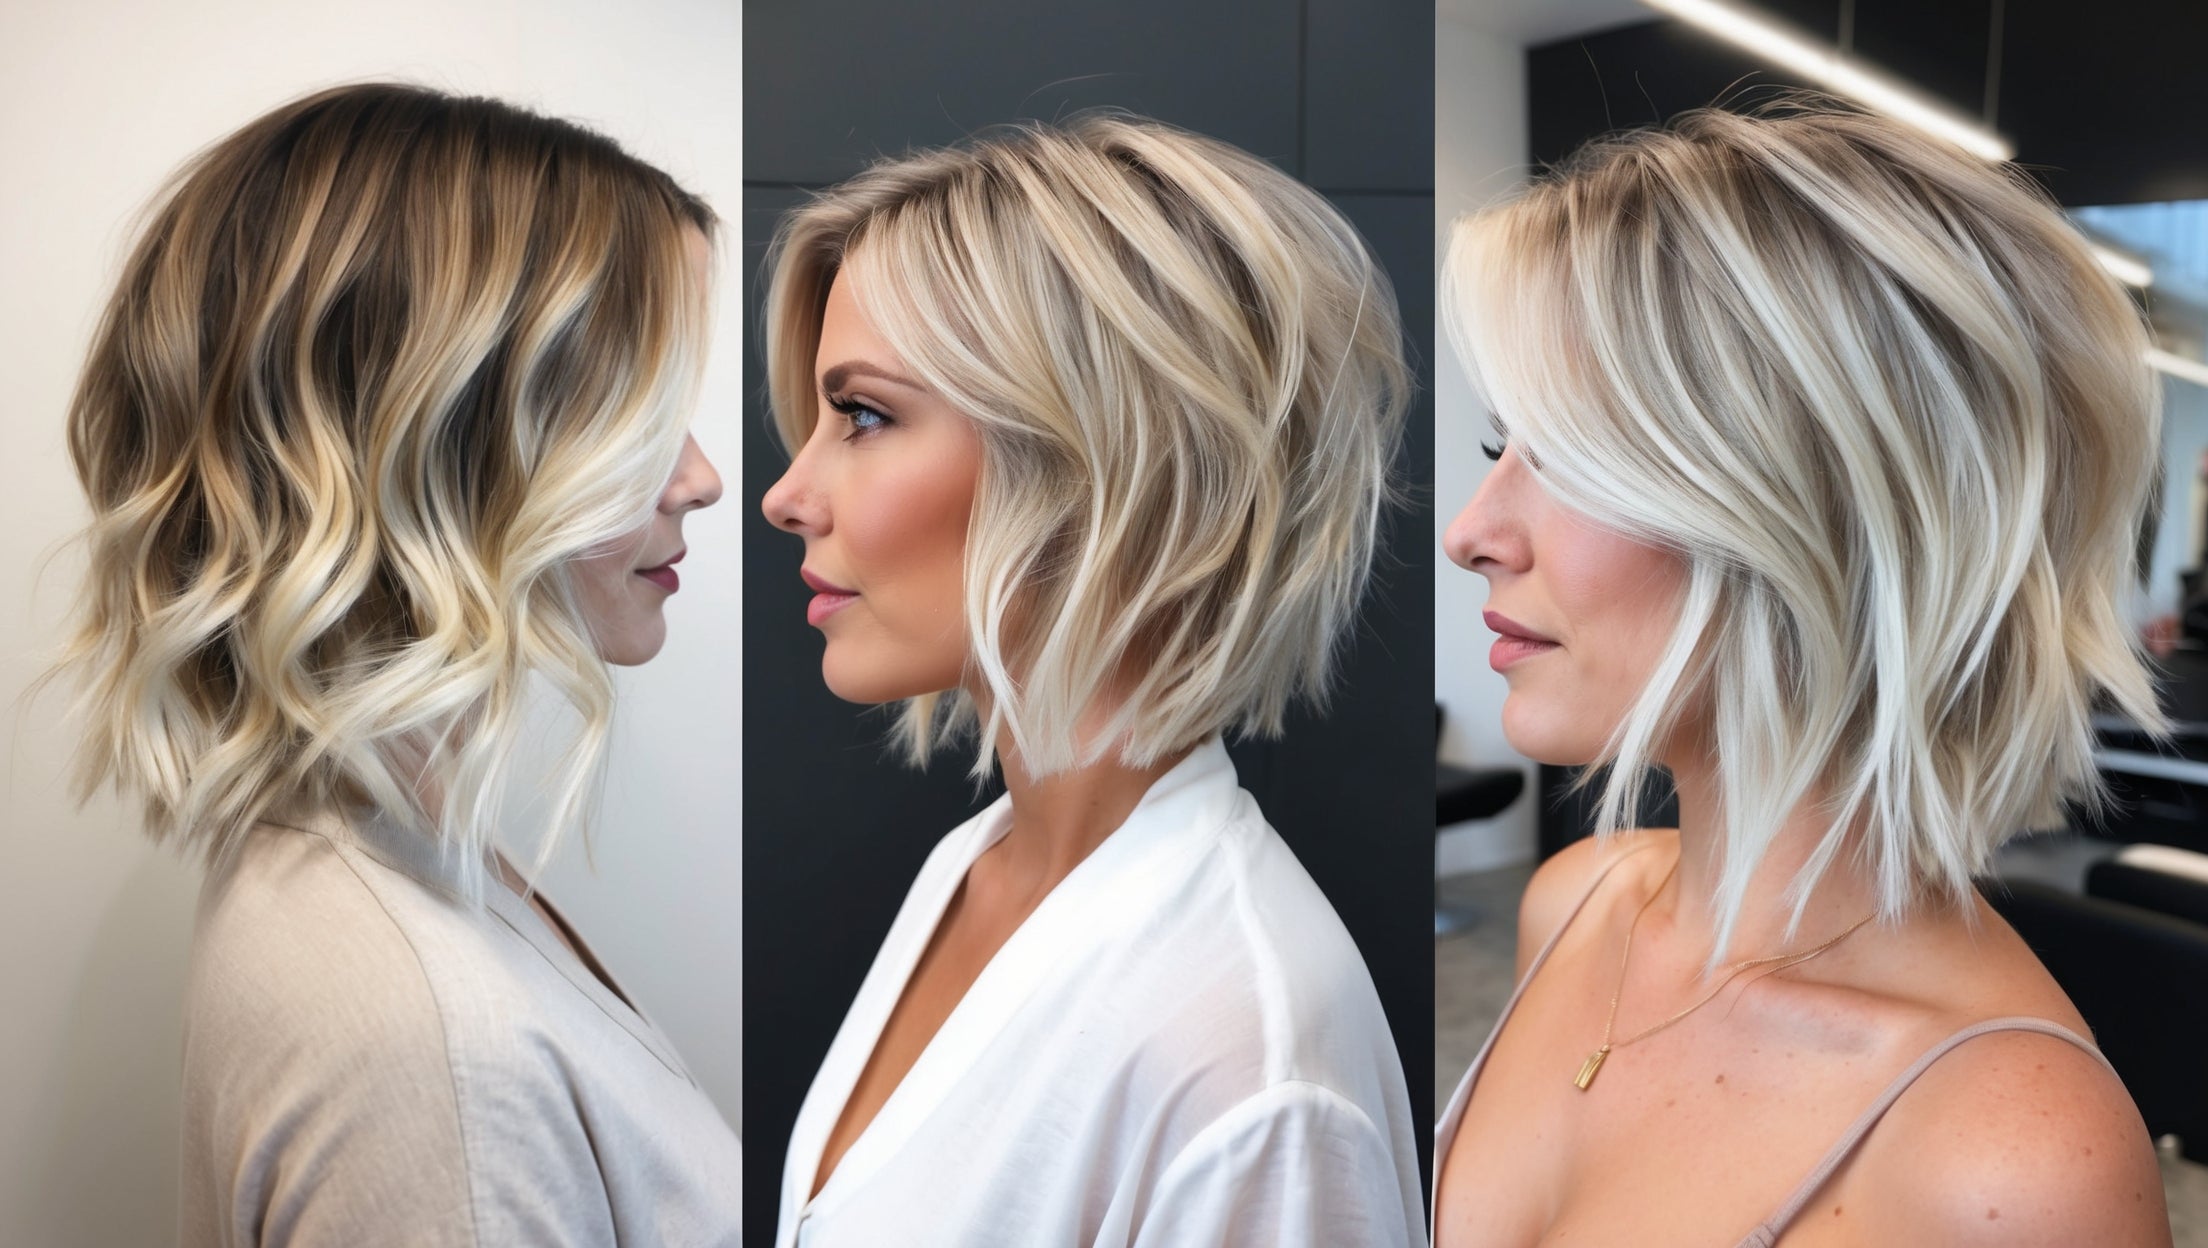
bild-Ombré selber machen

Ombré Hair: DIY Guide

1. Preparation is everything: These 3 things you need for your perfect ombré look

Before you embark on your ombré adventure, thorough preparation is the key to success. With the right tools and careful planning, you lay the foundation for a professional result. Here you will find out which three essential things you need for your DIY ombré look:

1. The right bleaching set

The heart of your ombré project is a high-quality bleaching kit. Make sure it is specifically designed for home use and contains a gentle formula to protect your hair. A good kit usually includes bleaching powder, developer, gloves and an application brush. Choose the strength of the developer according to your natural hair color - the darker your starting tone, the higher the volume percentage should be.

2. Protection and care products

To optimally care for your hair before and after bleaching, you should have the following products ready:

  • A moisturizing hair mask for pre-treatment
  • heat protection spray for aftercare
  • A nutrient-rich care oil for the tips
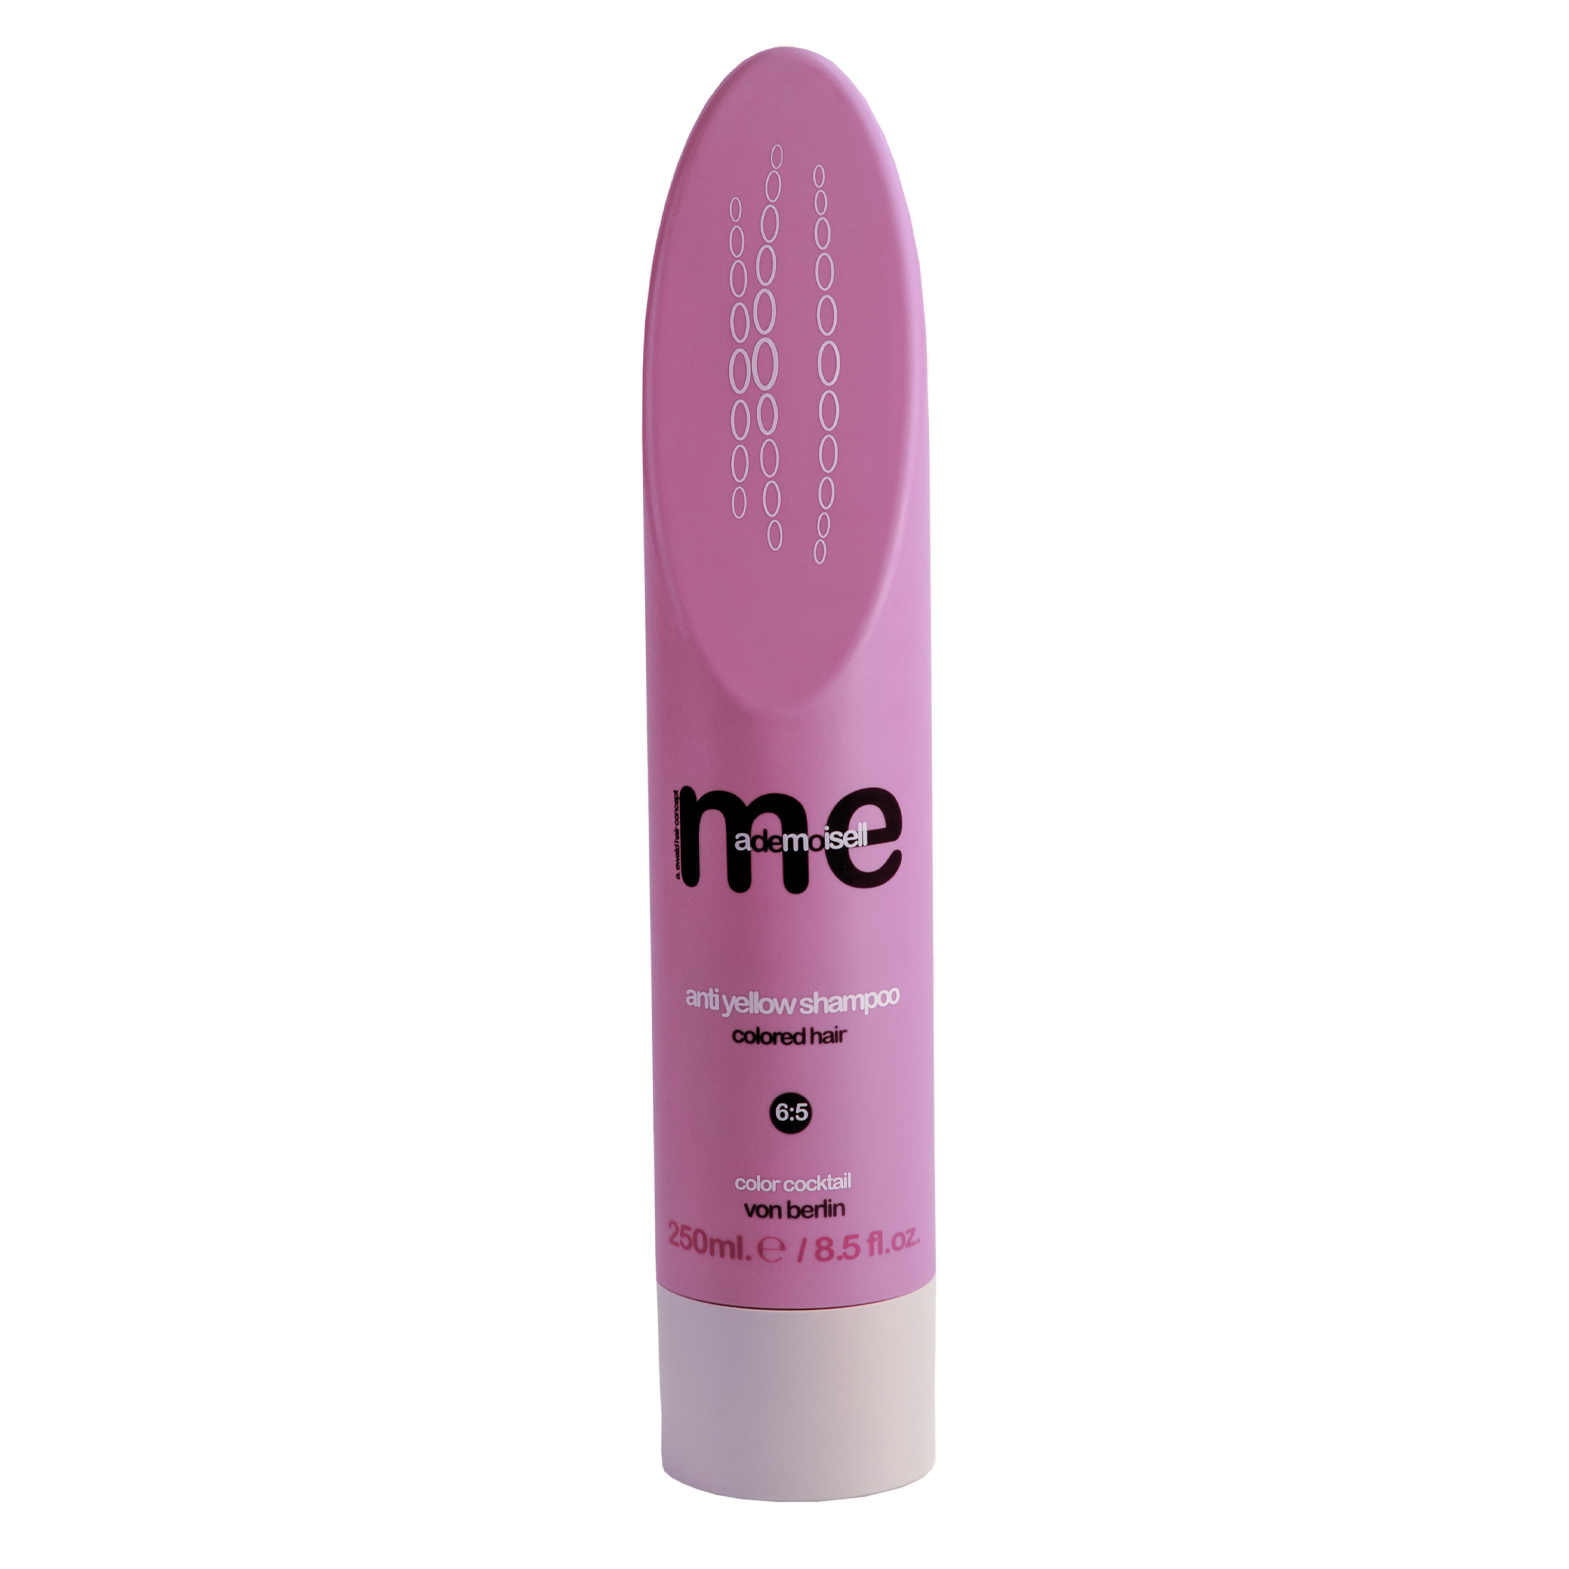
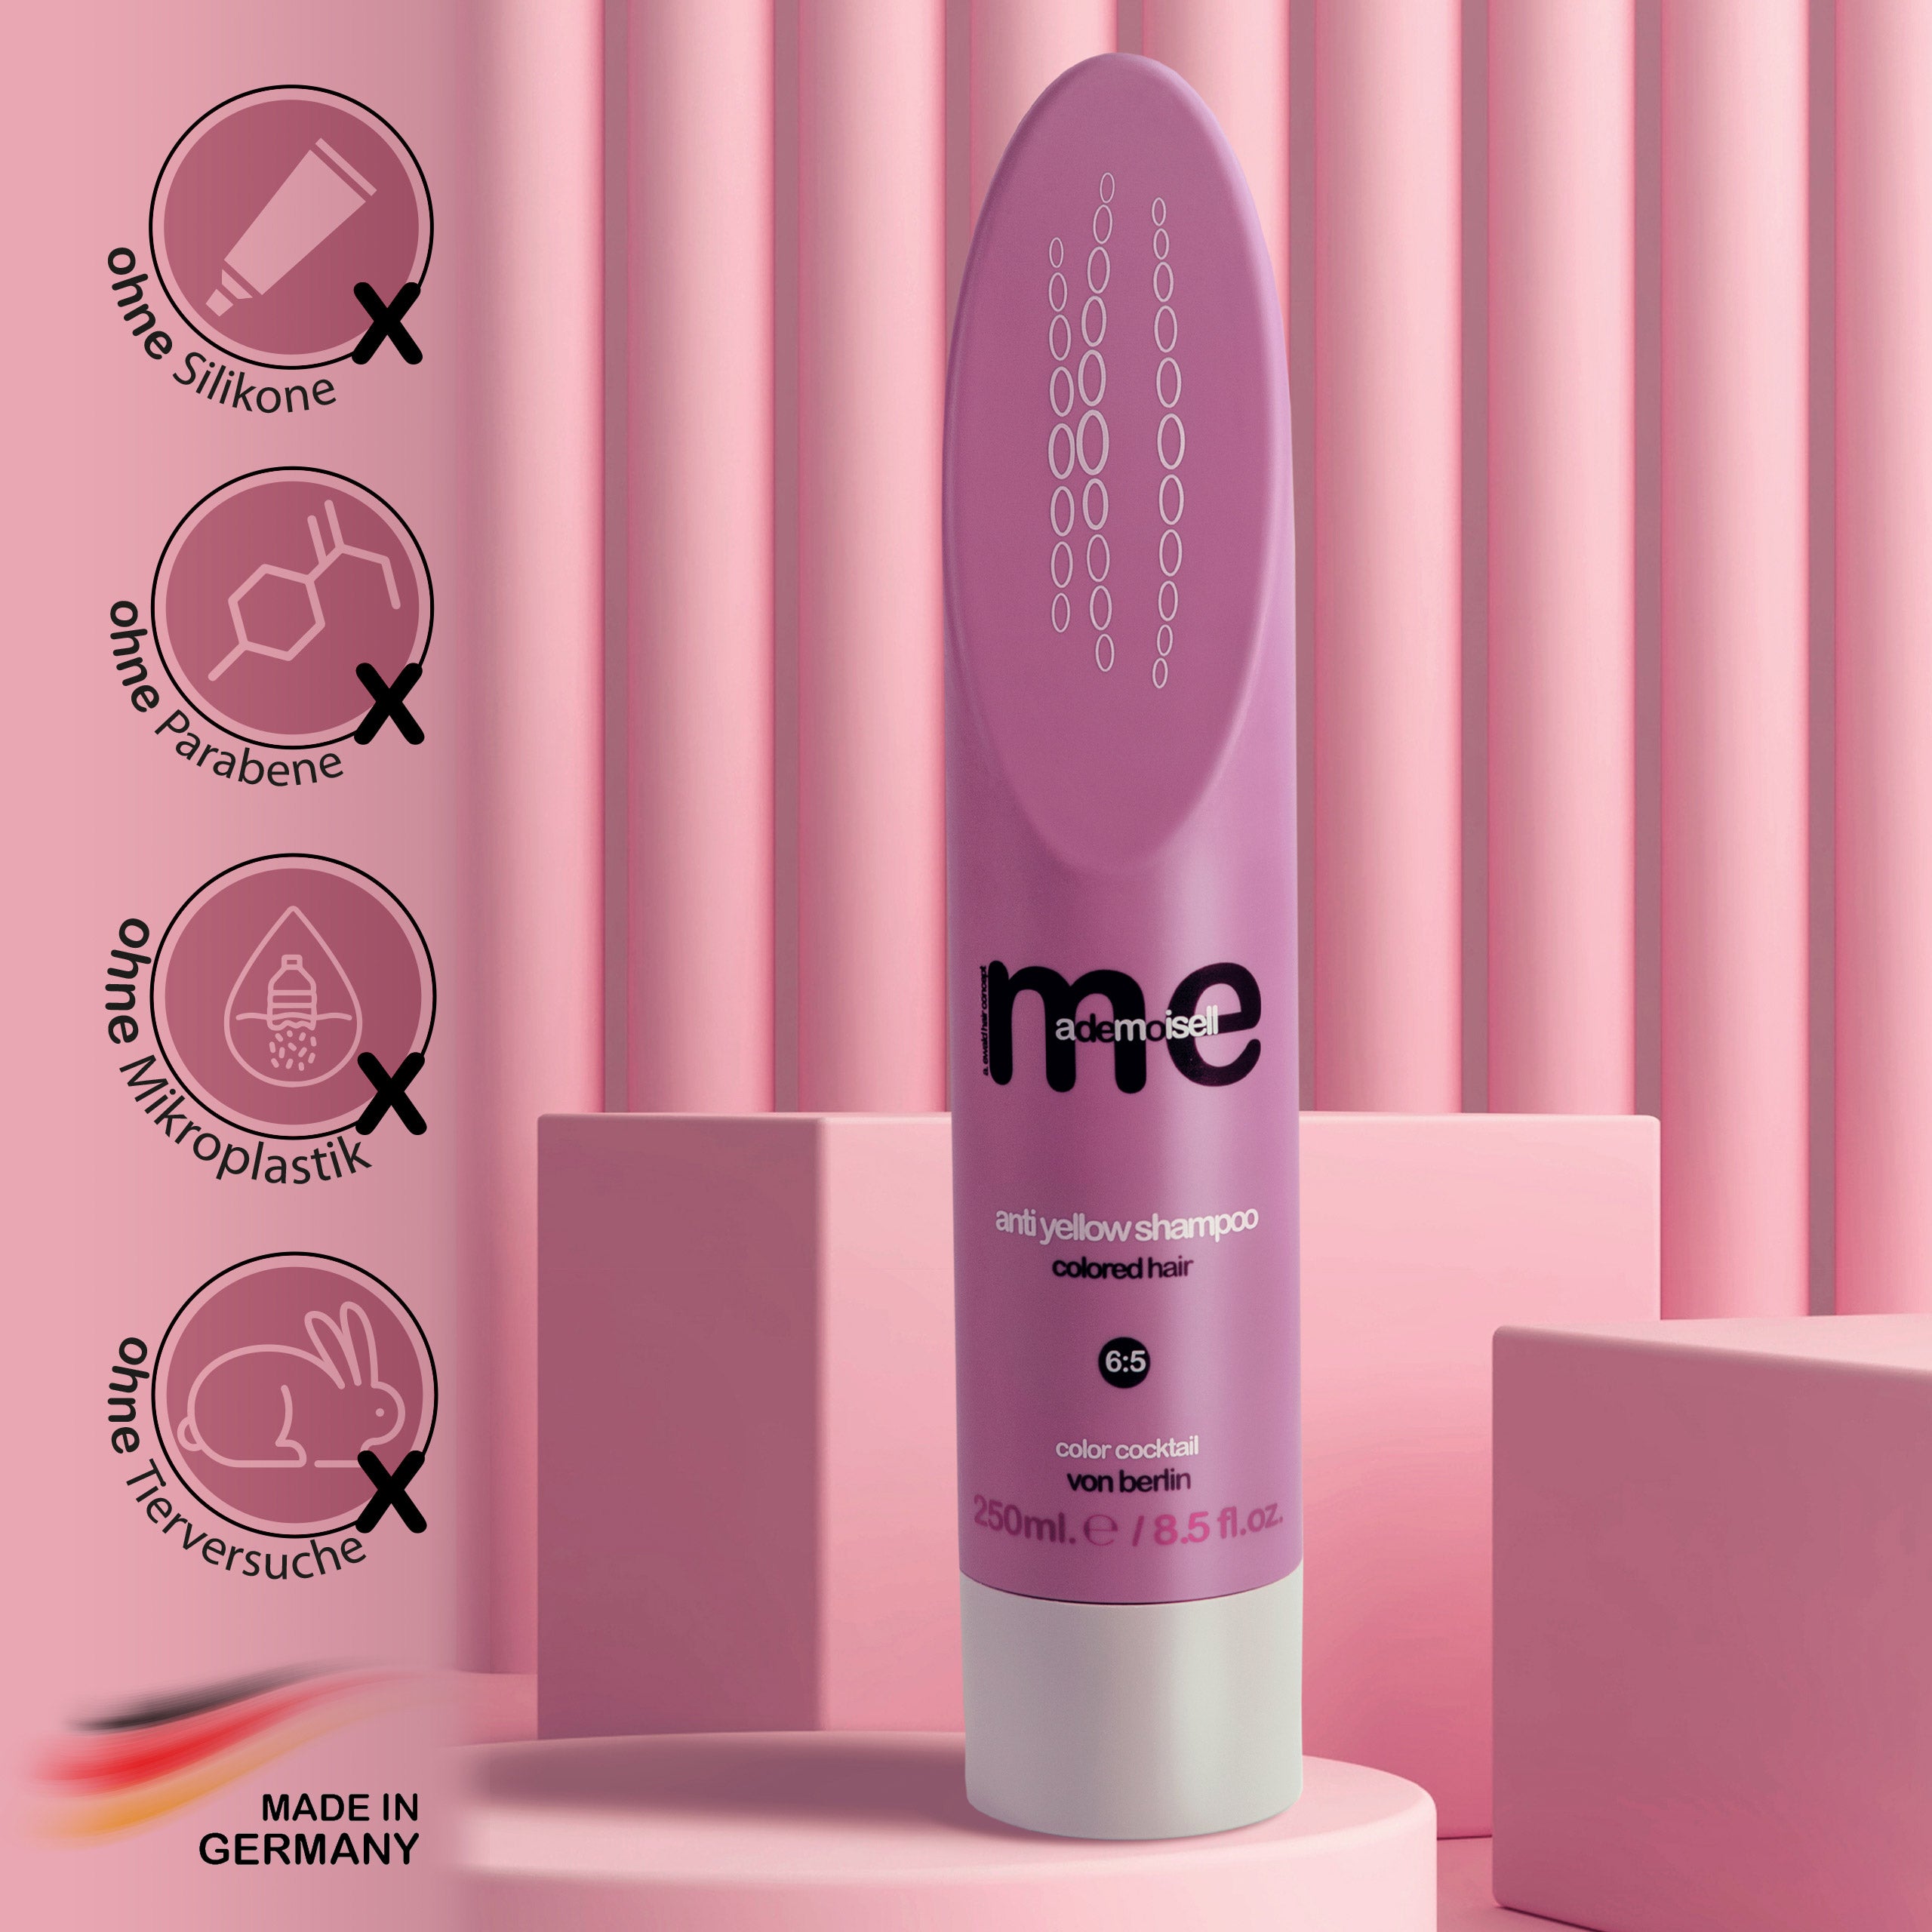
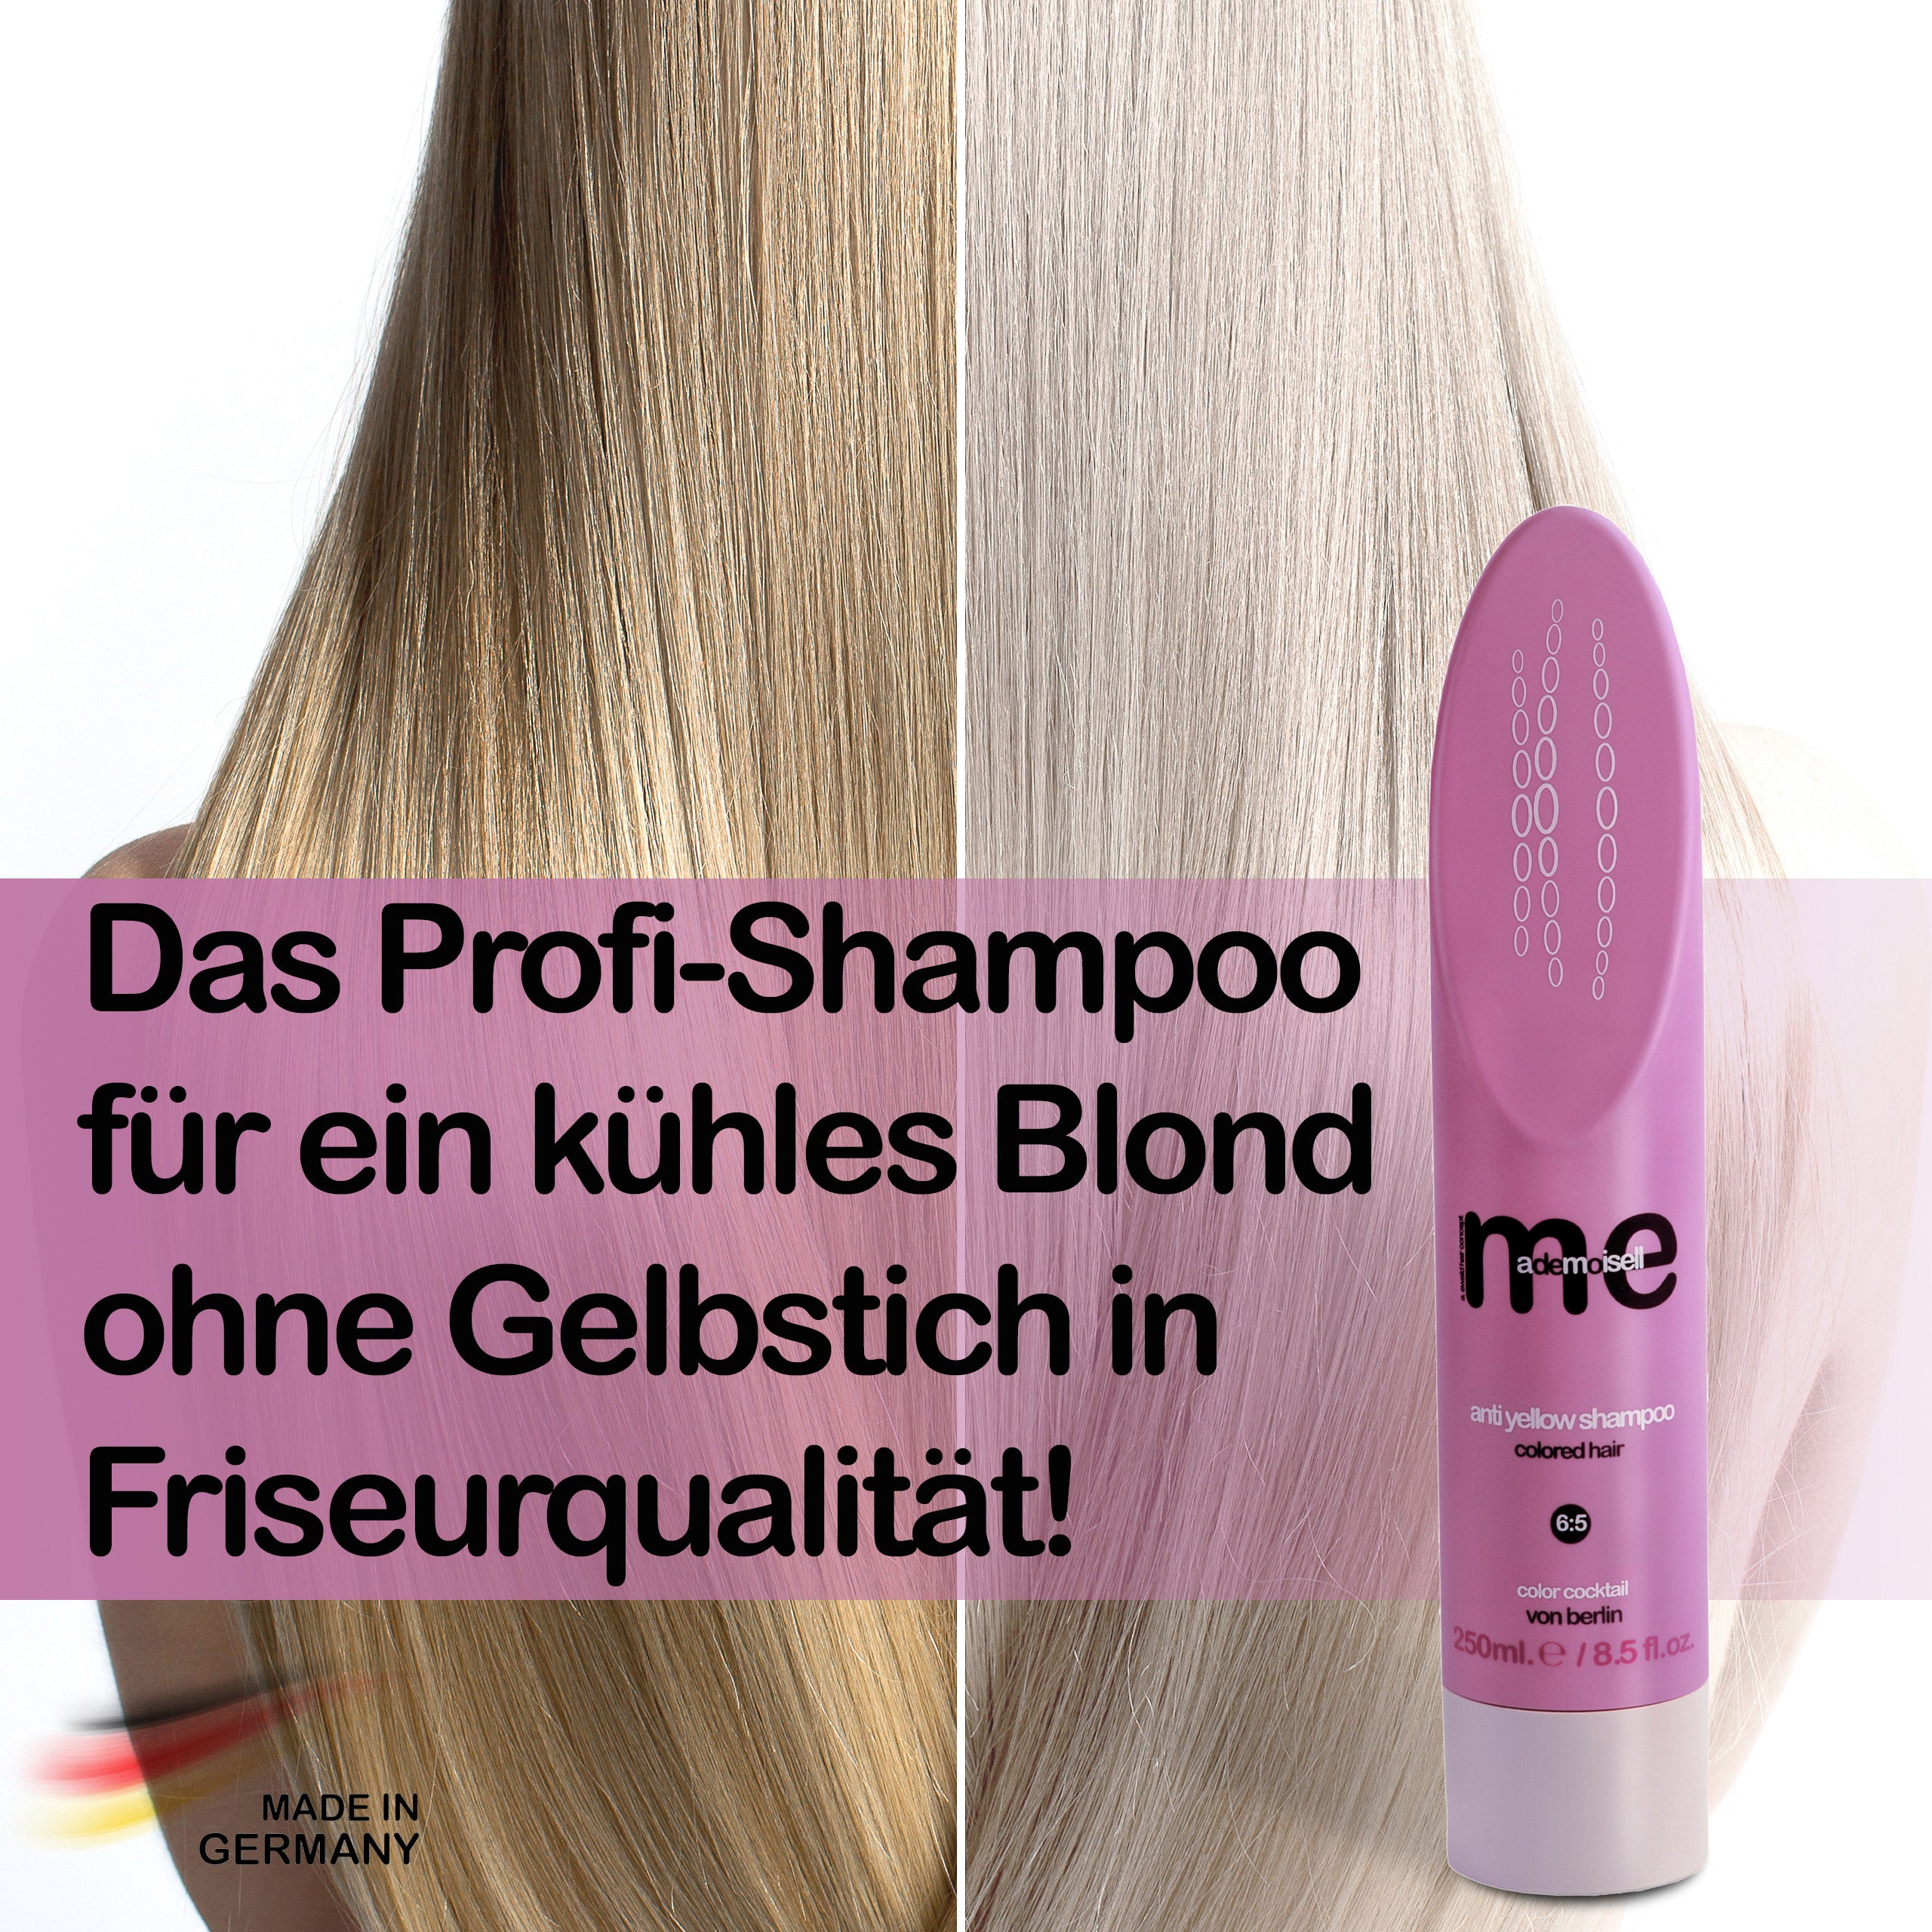
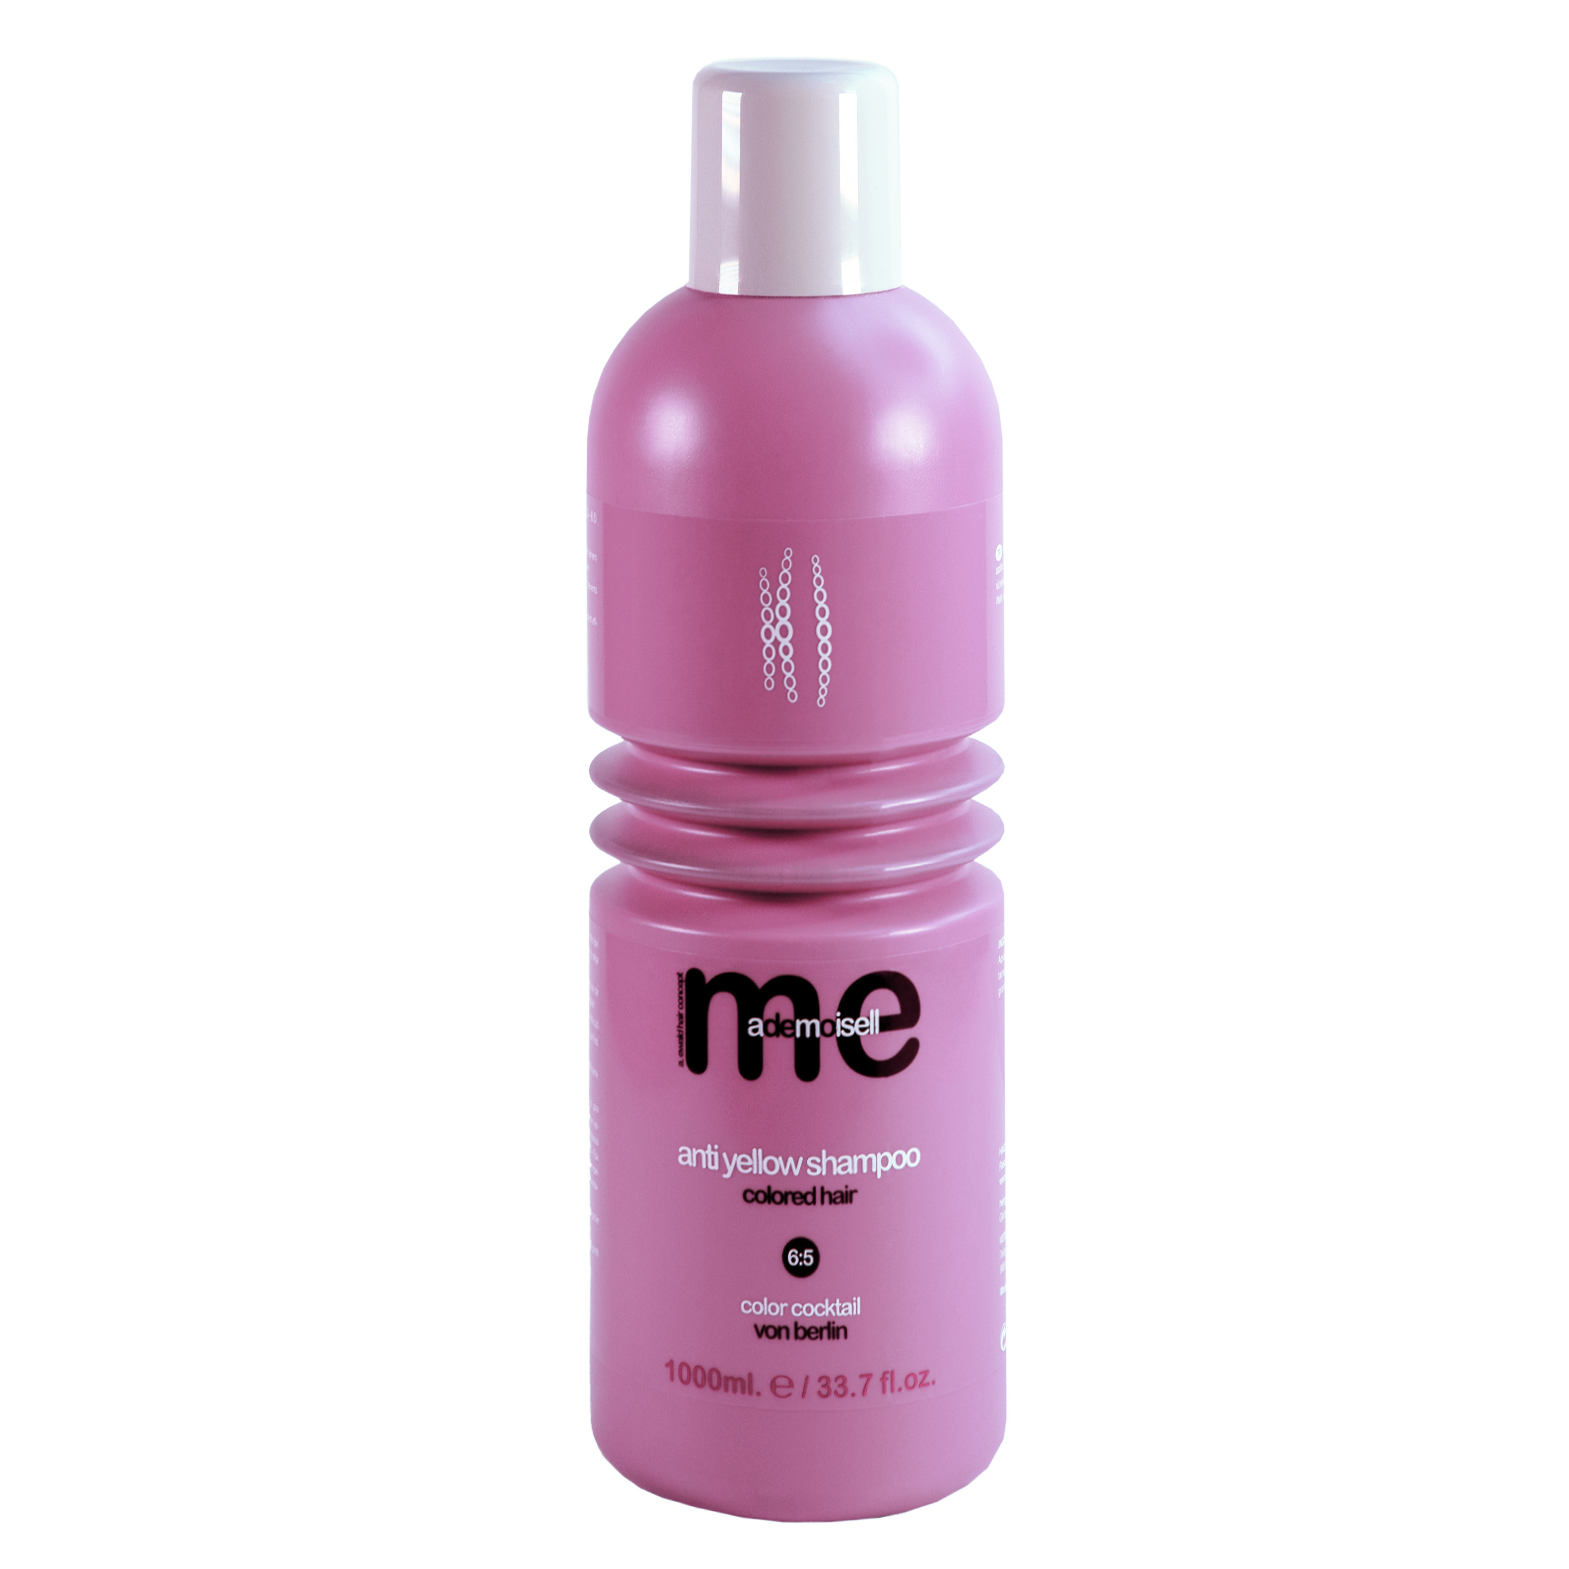
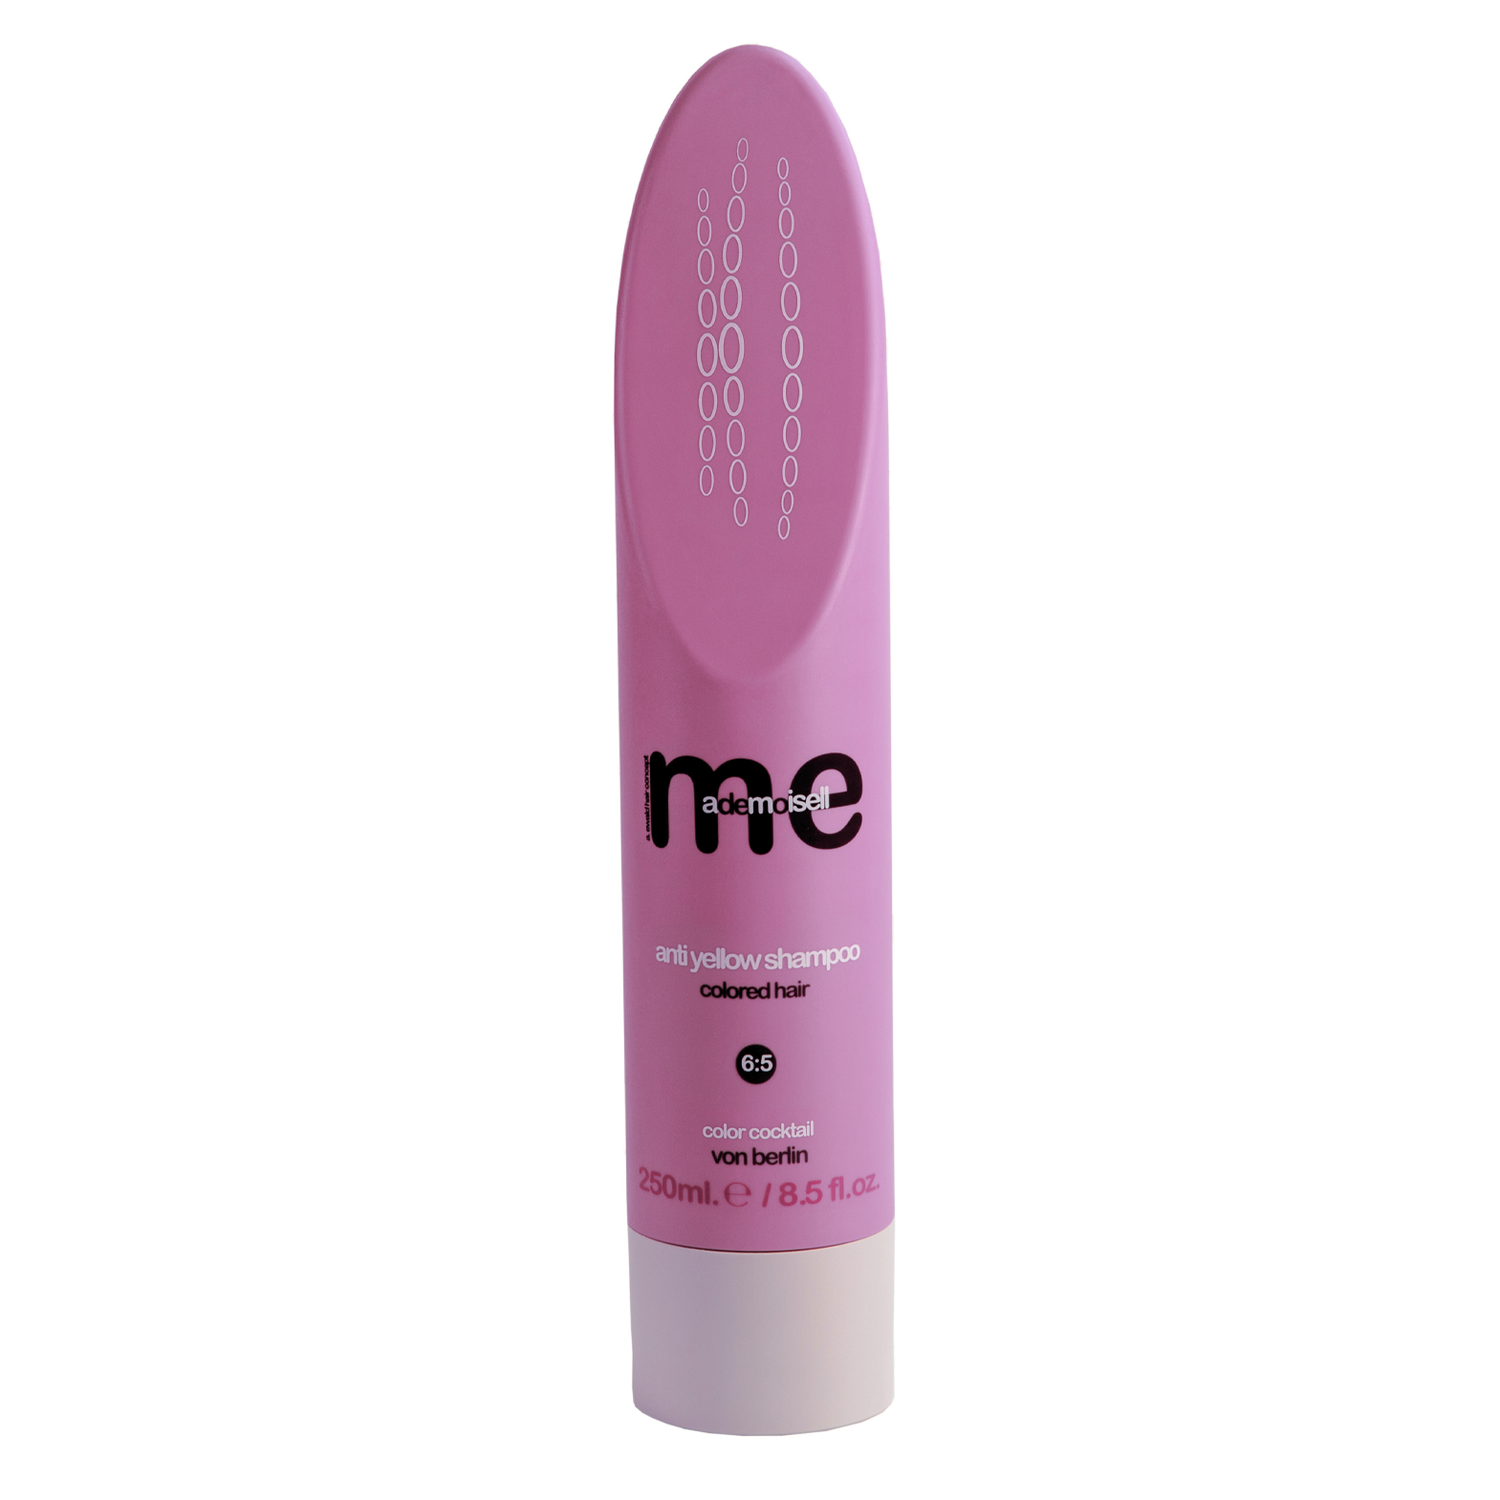
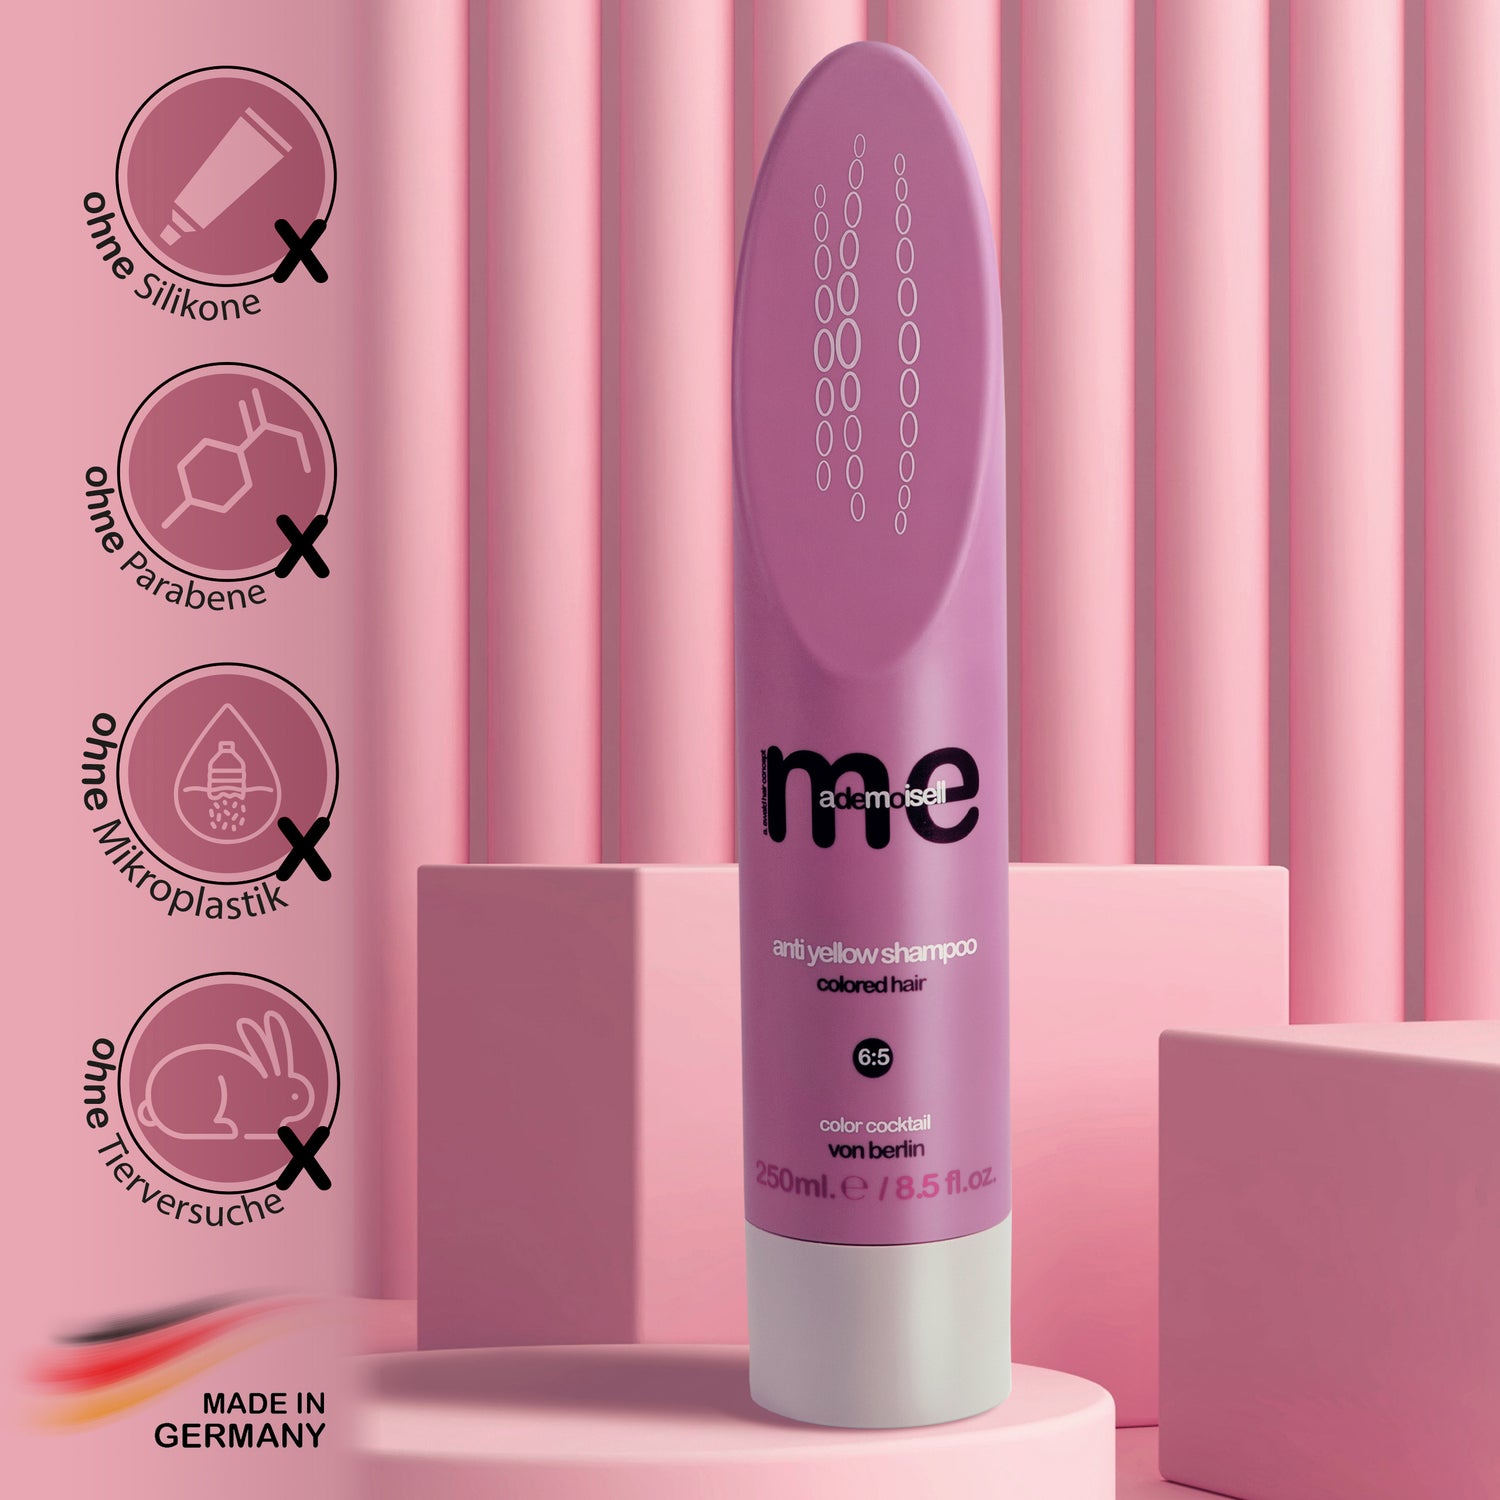
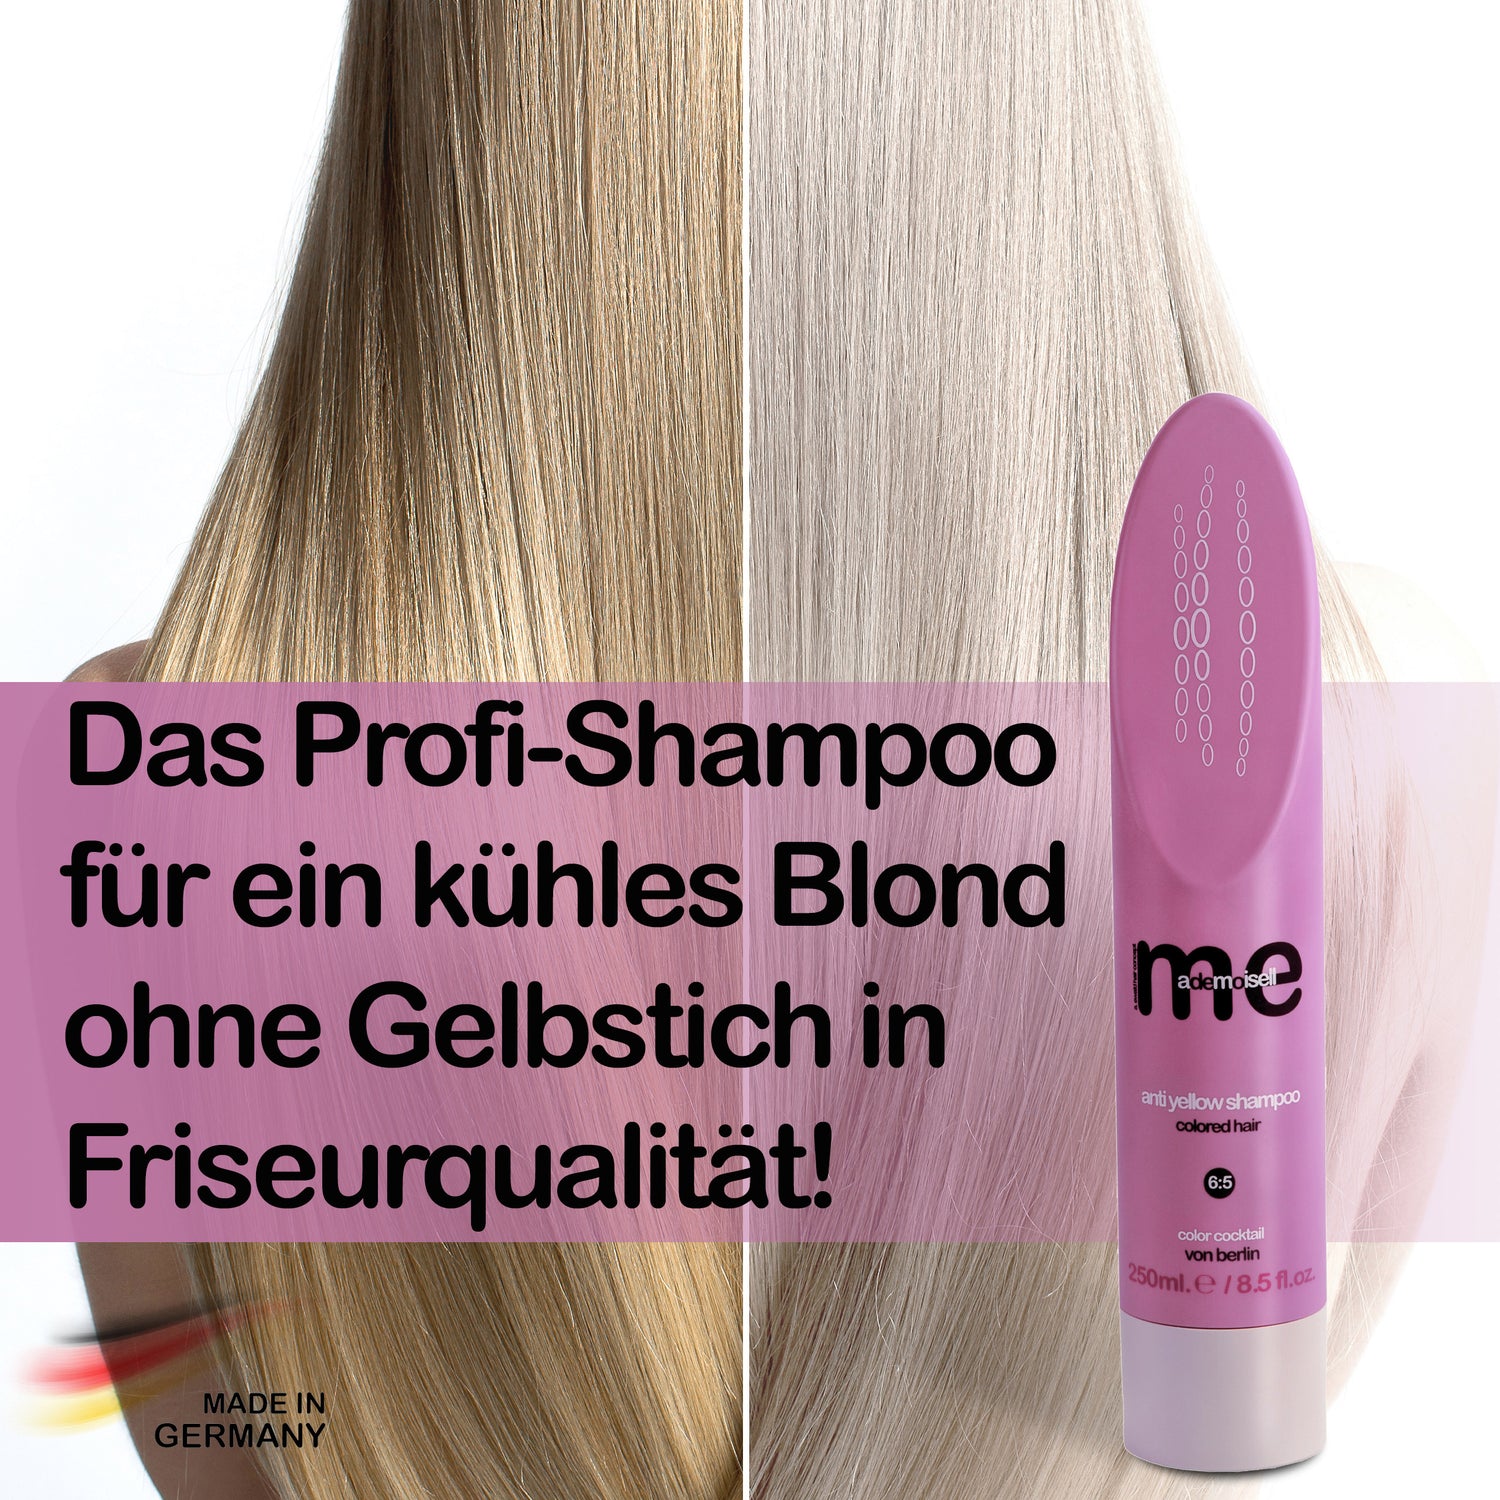
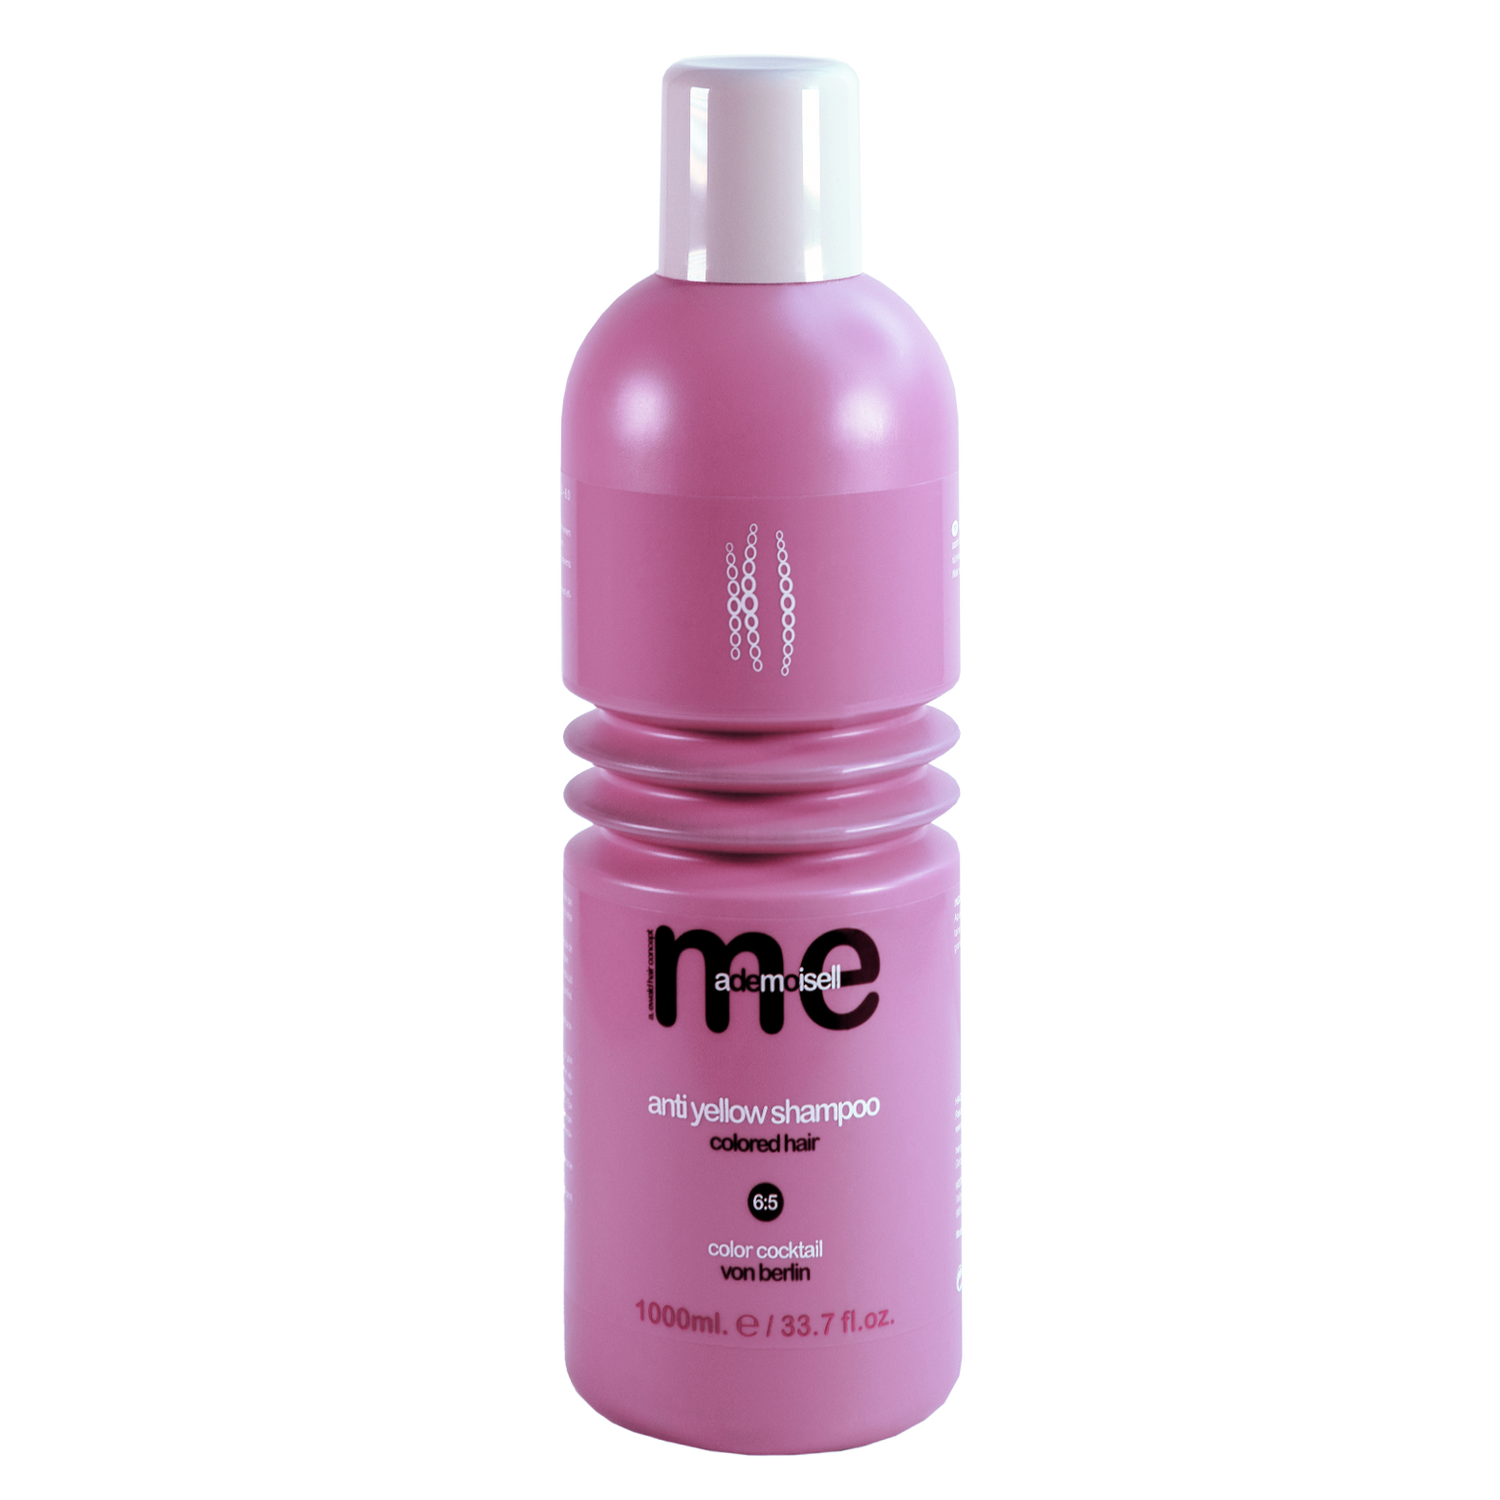
  • A silver toner to neutralize yellow tones

3. The right tools

For precise application and consistent results you need the following accessories:

  • A wide-toothed comb for detangling and distributing the color
  • Hair clips for separating individual strands
  • An old towel or cape to protect your clothes
  • A timer function (e.g. on your smartphone) for precise control of the exposure time

With this basic equipment, you are well prepared for your ombré project. Remember to have all products and tools ready to hand before you start to make the process as smooth as possible. Good preparation not only minimizes the risk of mistakes, but also ensures that you can work relaxed and focused.

Pro tip: Be sure to carry out an allergy test before using the products on a large area. To do this, apply a small amount of the mixed bleach to an inconspicuous area behind the ear and wait 24 hours. Only if no reaction occurs can you be sure that the products are suitable for you.

With these preparations, you are now ready to start your ombré adventure. In the next step, we will show you how to proceed step by step to achieve your dream look.


2. Step-by-step to dream hair: How to achieve ombré dyeing Now it gets exciting! With these simple instructions, you can conjure up a professional ombré look in no time: 1. Prepare hair: • Comb your hair thoroughly and divide it into four sections. • Apply a skin protection cream along the hairline. 2. Mix the bleach: • Follow the instructions on the package carefully. • Wear gloves to protect your hands. 3. Start dyeing: • Start at about ear level and work your way down. • Apply the bleach in diagonal stripes with a brush. • Blend the transitions gently with a comb for a natural look. 4. Note the exposure time: • Check the color development regularly. • Follow the recommended exposure time to avoid damage. 5. Rinse and condition: • Rinse hair thoroughly with lukewarm water. • Use a toner to neutralize unwanted yellow tones. • Finally, apply an intensive care treatment. Pro tip: For a particularly natural result, dye a few fine strands right up to the roots. This creates a soft transition and more dimension. Important: Patience is the key to success! Take your time with each step and don't rush anything. This will ensure that your ombré looks even and professional. Remember: every hair is different. If your hair is very dark or has already been dyed, you may need to repeat the process to achieve the desired lightness. Allow at least two weeks between applications to protect your hair. With this guide, you are well equipped to start your ombré adventure. You will soon be able to enjoy your new, radiant look!

3. Expert tips: 7 secrets for long-lasting and radiant ombré hair

Have you successfully done your own ombré? Great! Now it's all about keeping your new look fresh and radiant for as long as possible. Here are seven expert secrets that will help you:

1. Gentle cleaning

Use sulfate-free shampoos that are specifically designed for colored hair. These gently cleanse without washing out the color. Wash your hair no more than two to three times a week to maintain the natural oil balance.

2. Cool water is your friend

After washing, rinse your hair with cool water. This closes the cuticle and seals the color. An added bonus: your hair will be shinier!

3. Intensive care

Treat your hair to a deep conditioning mask once a week. Focus especially on the bleached areas, as these need more moisture. Leave the mask on for 15-20 minutes for optimal results.

4. Heat protection is mandatory

Before using a blow dryer, straightener or curling iron, always apply a heat protectant product. This will protect your hair from damage and help preserve the color. Reduce the use of heat styling tools in general to keep your ombré fresher for longer.

5. Regular toning

Every 3-4 weeks, you should use a silver toner to neutralize unwanted yellow or orange tones. This will freshen up your ombré and give you a cool, professional look.

6. Protection from UV rays

Sunlight can fade your ombré and cause unwanted tones. Wear a hat on sunny days or use hair care products with UV protection to protect your color.

7. Nighttime care

Sleep on a silk pillowcase. This will reduce friction and prevent your hair from drying out or becoming tangled. Alternatively, you can tie your hair into a loose braid at night to protect it.

With these expert tips, your homemade ombré will not only last longer, but will also look healthier and more radiant. Remember: regular care is the key to permanently beautiful hair.

Pro tip: Every 6-8 weeks, do a light touch-up by bleaching only the ends. This way, you can maintain your ombré look long-term without over-stressing your hair.

By incorporating these secrets into your hair care routine, you will be able to enjoy your perfect ombré for a long time to come. Enjoy your new look and the feeling of having created it yourself!


4. Common mistakes in DIY ombré and how to avoid them There are a few pitfalls that can arise when making ombré hair yourself. Here you can find out which typical mistakes are often made and how you can cleverly avoid them: 1. Too abrupt color transition: • Problem: A harsh transition between dark and light looks unnatural. • Solution: Blend the colors carefully with a comb or brush. Work in small sections and take your time to create smooth transitions. 2. Uneven coloring: • Problem: Spotty or streaky results due to uneven application. • Solution: Divide your hair into many small sections and work systematically. Make sure the product is evenly distributed. 3. Result too light or too dark: • Problem: The color does not match your expectations. • Solution: Test the bleaching on a small section of hair first. Check the exposure time regularly and adjust it if necessary. 4. Over-stressed hair: • Problem: Dry, brittle ends due to overly aggressive bleaching. • Solution: Use a mild bleach and do not exceed the recommended exposure time. Care for your hair intensively before and after the treatment. 5. Yellow or orange tint: • Problem: Unwanted warm tones in bleached hair. • Solution: After bleaching, use a silver toner to achieve cool tones. For stubborn yellow tones, a purple tint can help. 6. Root too light: • Problem: The transition at the roots is too harsh or too light. • Solution: Start applying the bleach at least 5-10 cm from the roots. Finally, carefully blend upwards. 7. Unequal lengths: • Problem: The effect looks inharmonious with different hair lengths. • Solution: Adjust the height of the color transition to the length of your hair. If your hair is shorter, start higher up; if your hair is longer, start lower down. Pro tip: Less is often more! Start with a subtle effect and intensify it in a second pass if necessary. Remember: patience and care are your best allies. Take your time and work precisely. If in doubt, it is better to consult a professional than risk irreparable damage. With this knowledge, you are well equipped to avoid typical mistakes and achieve a dreamy ombré result. Good luck with your DIY ombré adventure!

5. Care Guide: How to keep your ombré hair fresh and healthy for weeks

A homemade ombré is an investment in your look that deserves the right care. With this comprehensive care guide, you can ensure that your ombré hair not only stays fresh and healthy for weeks, but also retains its shine.

daily care routine

Start each day by gently brushing your hair to remove knots and distribute natural oils from root to tip. Use a soft-bristled brush or wide-toothed comb to avoid breakage.

Proper washing habits

Wash your hair a maximum of twice a week with a sulfate-free, color-preserving shampoo. Concentrate on the scalp and massage gently. When rinsing, let the shampoo glide through the lengths and ends without rubbing.

After every wash, a color-protecting conditioner is a must. Apply it mainly to the bleached areas and leave it on for 2-3 minutes before rinsing thoroughly.

Weekly intensive care

Once a week you should give your ombré hair an extra portion of care:

  • Use a moisturizing hair mask
  • Focus especially on the lighter, more stressed areas
  • Wrap your hair in a warm towel for better effectiveness
  • Leave the mask on for 15-30 minutes

styling and protection

When styling, care must be taken to protect your ombré:

  • Always use heat protection before using a hair dryer, straightener or curling iron
  • Reduce the use of heat styling tools to a minimum
  • Blow-dry your hair with cool or lukewarm air to preserve the color
  • Experiment with heat-free styling methods such as braids or curlers

protection from external influences

Environmental influences can affect your ombré. Protect your hair as follows:

  • Wear a hat on sunny days or use hair care products with UV protection
  • Tie your hair back or cover it when swimming in chlorinated or salt water
  • Rinse your hair thoroughly with clean water after swimming

color refreshment

To keep the ombré effect fresh for a long time, you can use a color-refreshing conditioner or tinting treatment every 3-4 weeks. This helps to neutralize unwanted yellow or orange tones and gives your hair new shine.

Pro tip: Pay attention to your diet! A balanced, nutrient-rich diet with plenty of biotin, vitamin E and omega-3 fatty acids supports the health of your hair from the inside out.

With this comprehensive care guide, you will not only keep your radiant ombré, but also ensure that your hair stays healthy and strong. Enjoy your homemade look and the good feeling of taking the best care of your hair!